GNOME/Next
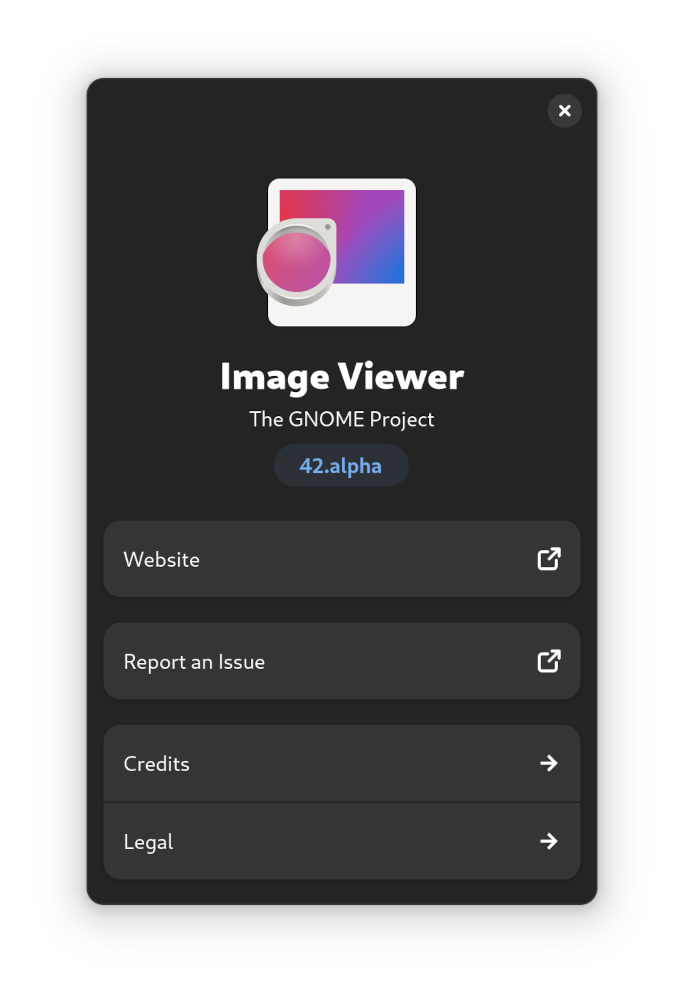
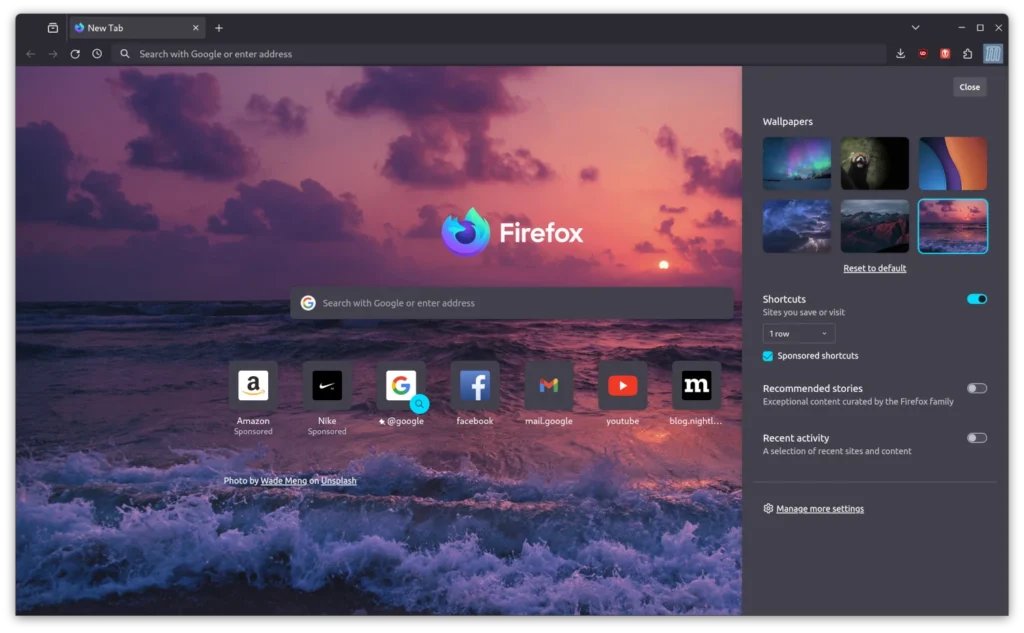
In these days I have prepared my system for GNOME 43 beta, everything is ready but right now I would not have the time for video editing and manage any possible problems. So I decided to just test Loupe Image Viewer what is likely to be the future GNOME image viewer.
At first Instead of compiling it as I usually do and using the flatpak version I simply installed it from AUR, using the immense Arch Linux archive.
UPDATE: AUR version was a few months ago so I also tried the also flatpak one and found no differences.
At the moment it is a simple image viewer without additional functions, I thought of replacing it with the classic Eye of GNOME in view of future developments…
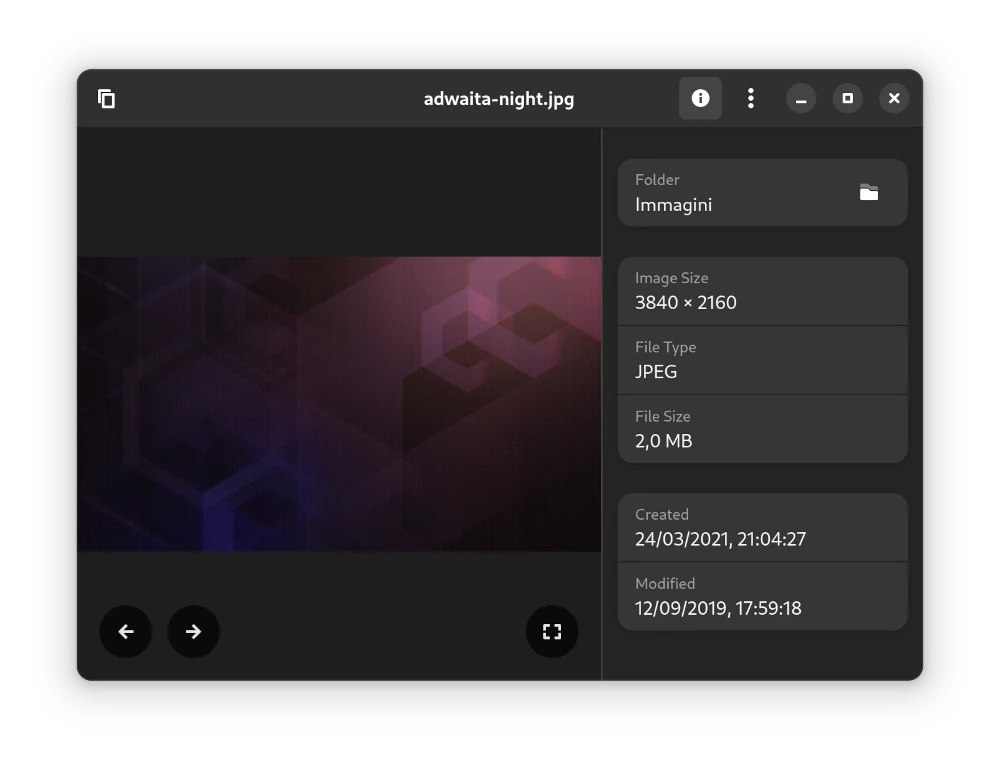
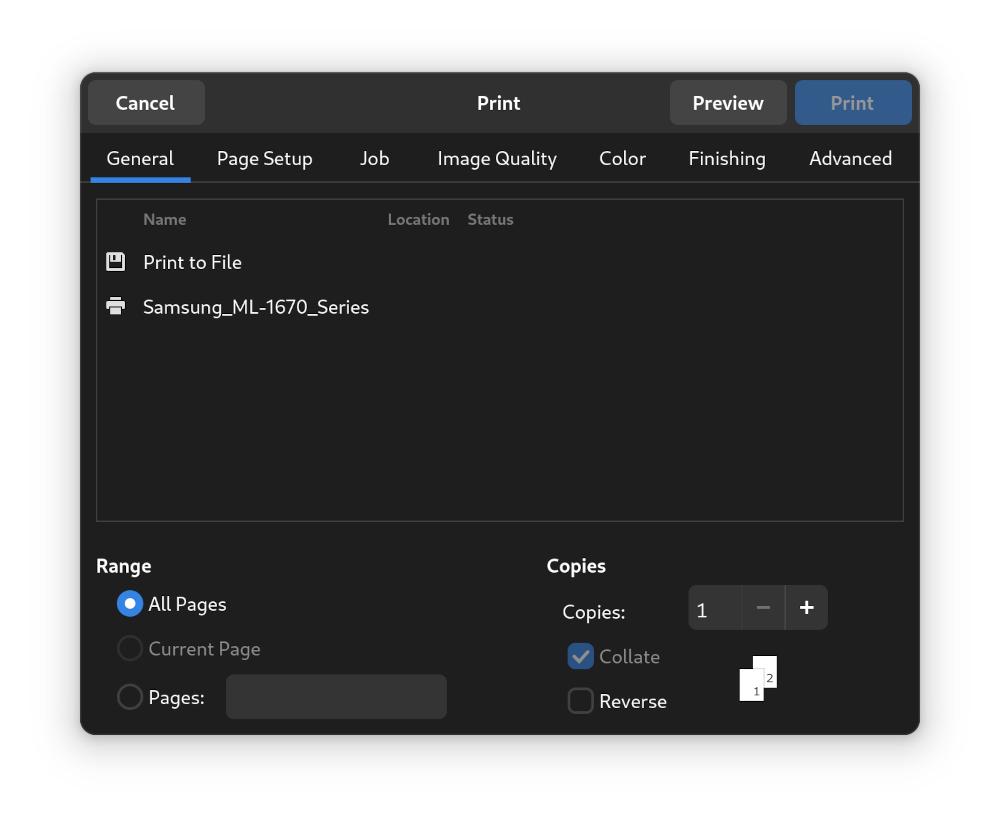
Very nice transition that shows the image properties and print panel.
Building
https://gitlab.gnome.org/sophie-h/loupe#building
GNOME Builder
GNOME Builder is the environment used for developing this application. It can use Flatpak manifests to create a consistent building and running environment cross-distro. Thus, it is highly recommended you use it.
- Download GNOME Builder.
- In Builder, click the “Clone Repository” button at the bottom, using
[email protected]/BrainBlasted/loupe.gitorhttps://gitlab.gnome.org/BrainBlasted/loupe.gitas the URL. - Click the build button at the top once the project is loaded.
Installation
Depending on how you want it installed instructions can differ. If you used GNOME Builder to build it, clicking the bar at the top window will open a submenu with “Export Bundle”. This will create a flatpak bundle, which can be installed on any system that supports flatpak.
In order for the Loupe flatpak to be able to read the directory images are installed in, you must install a bundle. Once you have a bundle installed, development builds will work properly.
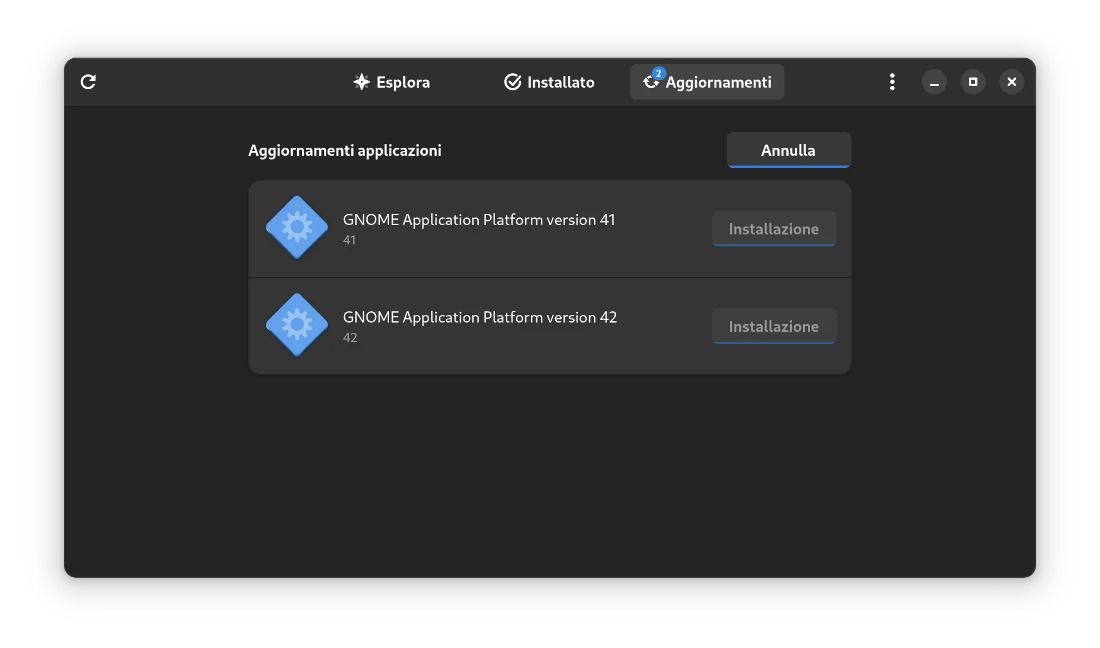
How to fix glitches at 2:17 of my video
To eliminate the strange outlines that can be seen in the Flatpak version it is sufficient to open GNOME Software and update the DEV GNOME Application platform libraries.


Leave a Reply