Software/Fijifilm
I recently switched from Sony RX100 that has accompanied me on all my travels to the Fujifilm XT30 II camera and I’m really excited.
As for the connection, there is the FUJIFILM Camera Remote app which transfers images to smartphones. In addition to classic USB cable, the FUJIFILM PC Autosave software (Windows/macOS) is available for WiFi saving images on PC.
It is really very comfortable and clean to transfer images to the PC without cable connecting the camera, let’s see how to Wi-Fi connect a Fujifilm camera to Linux (Ubuntu, Mint, Fedora, Arch etc ..) for photo transfer.
How to connect Fujifilm camera to Linux
VMware Workstation Player & Tools
Download latest VMware Workstation Player bundle installer and install it with
$ sudo ~/VMware-Player-Full-1xxx.x86_64.bundle
You can also use your distro packaged version (not tested..)
Windows 7 iso
Download iso & Install Windows 7 in VMware Player
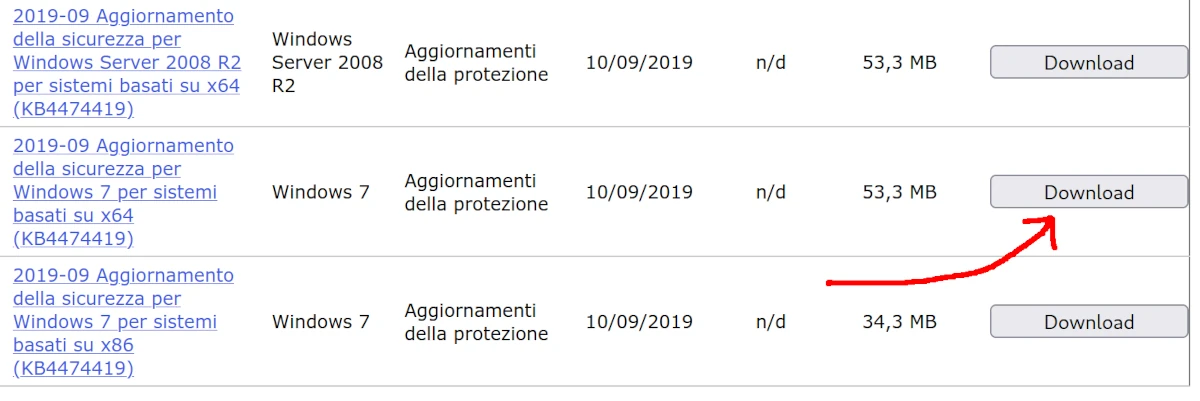
Once Windows is installed download Mozilla Firefox browser and install this update (53.3 MB update needed for VMware Tools installation process):
https://www.catalog.update.microsoft.com/search.aspx?q=kb4474419
VMware Tools
Power Off Windows 7 Virtual Machine from VMware player menu.
Open VMware Player and open Virtual Machine Settings.
Remove CD/DVD (SATA) unit and add a new empty one.
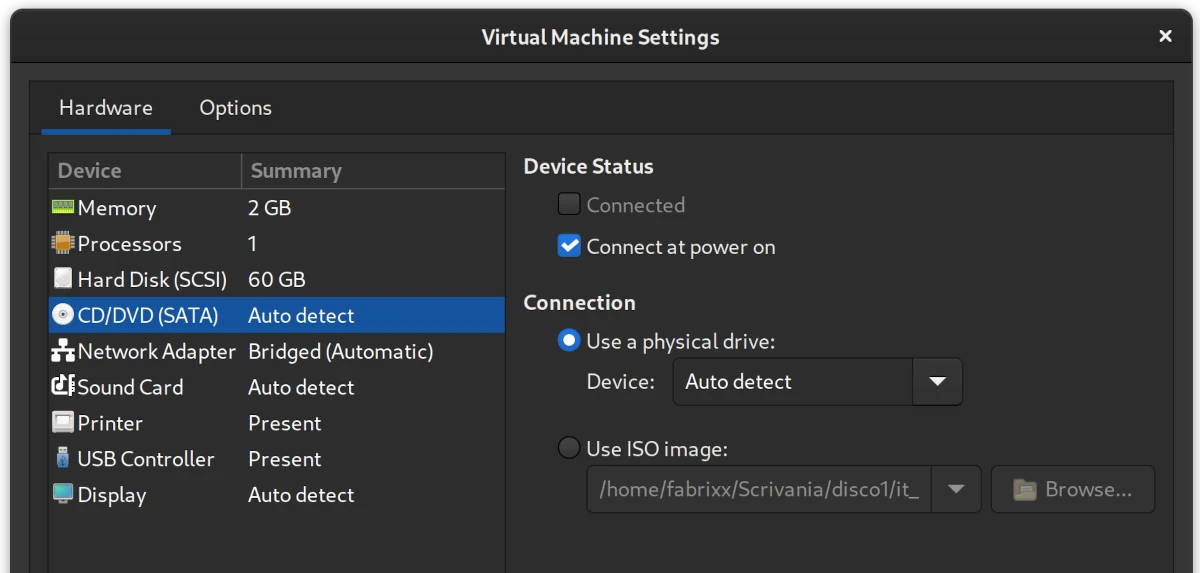
Power On Windows 7 and select Virtual Machine>Install VMware Tools to start installation process.
VMware Tools allows you to set a better video resolution and set up shared folders.
Shared folders
In VMware player open Virtual Machine Settings>Options tab>Shared folders
Select Always Enabled and Map as a network drive in Windows guests under the Shared Folders menu (this option allows you to display the shared folder in File Explorer in Windows).
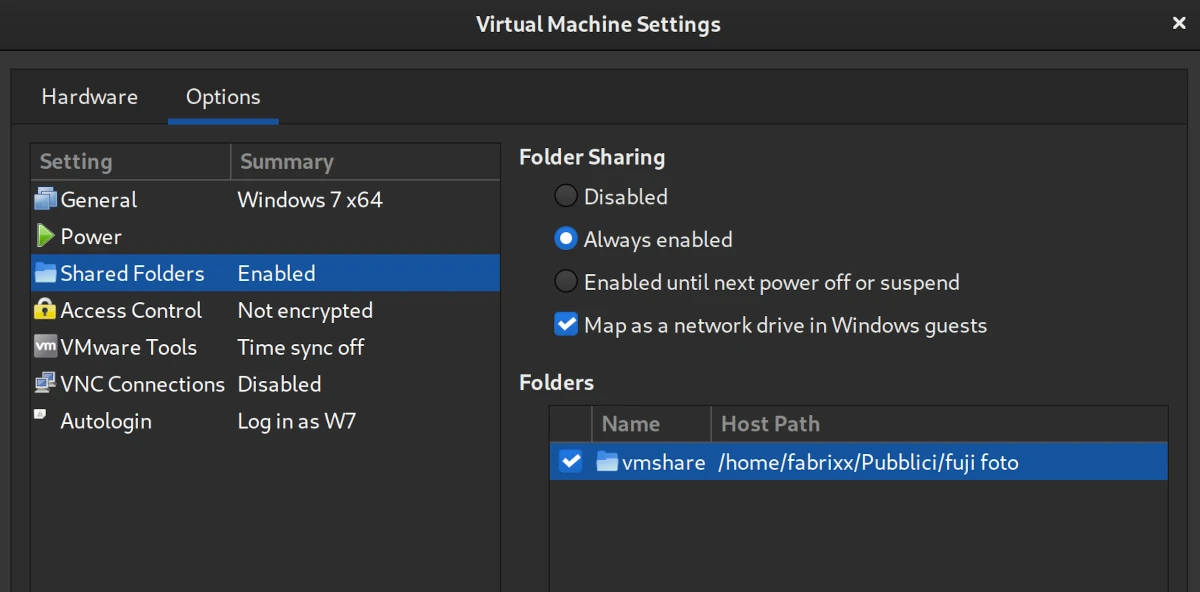
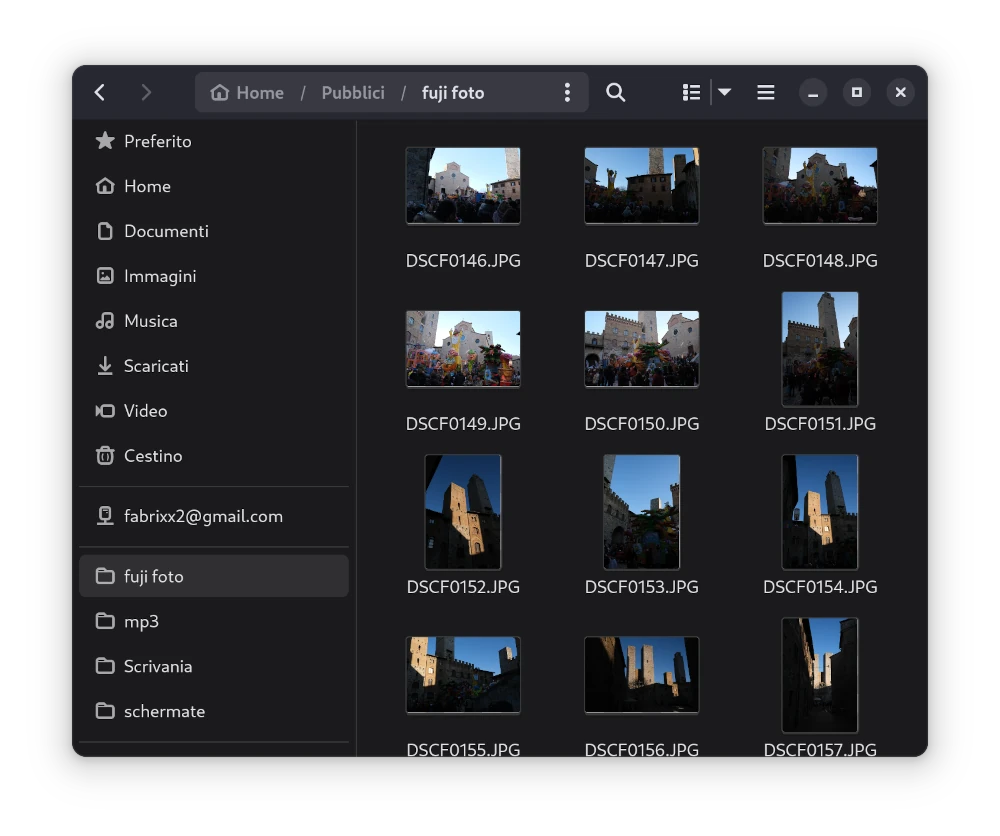
Select your preferred folder to share (i selected /home/fabrixx/Public/fuji foto/ and added a bookmark do my Nautilus side panel).
Fujifilm PC Autosave
Setup your camera
https://app.fujifilm-dsc.com/en/pc_autosave/setup.html
In VMware player download & install Install Fujifilm PC Autosave (use Firefox browser).
From bottom right small icon launch PC AUTOSAVE SETTINGS and select SIMPLE SETTING (via WPS).
You can also select MANUAL SETTINGS but you will have to enter network password manually and it can be very inconvenient.
Power On your Fuji camera, enter PC AUTO SAVE SETTING>SIMPLE SETUP and press your router WPS button until camera recognize your network, press OK to confirm registration.
Note: pairing only works if you have a 2.4GHz network and not a 5GHz one.
You can select now on VMware the destination folder, i leave the default one \Users\Pictures because is impossible to select VMware shared folder as destination. REGISTRATION COMPLETED message appear on camera.
Transfer files from camera to Windows (VMware)
https://app.fujifilm-dsc.com/en/pc_autosave/usage.html
Open PC Autosave from Vmware player.
Power On Fujifilm camera in playback mode and select WIRELESS COMMUNICATION/PC AUTOSAVE from menu button (in my XT 30 II but in other models there may be a wifi key) and follow the official guide linked above.
Images and videos transfer will start directly in VMware.
Import files from Windows (VMware) to Linux
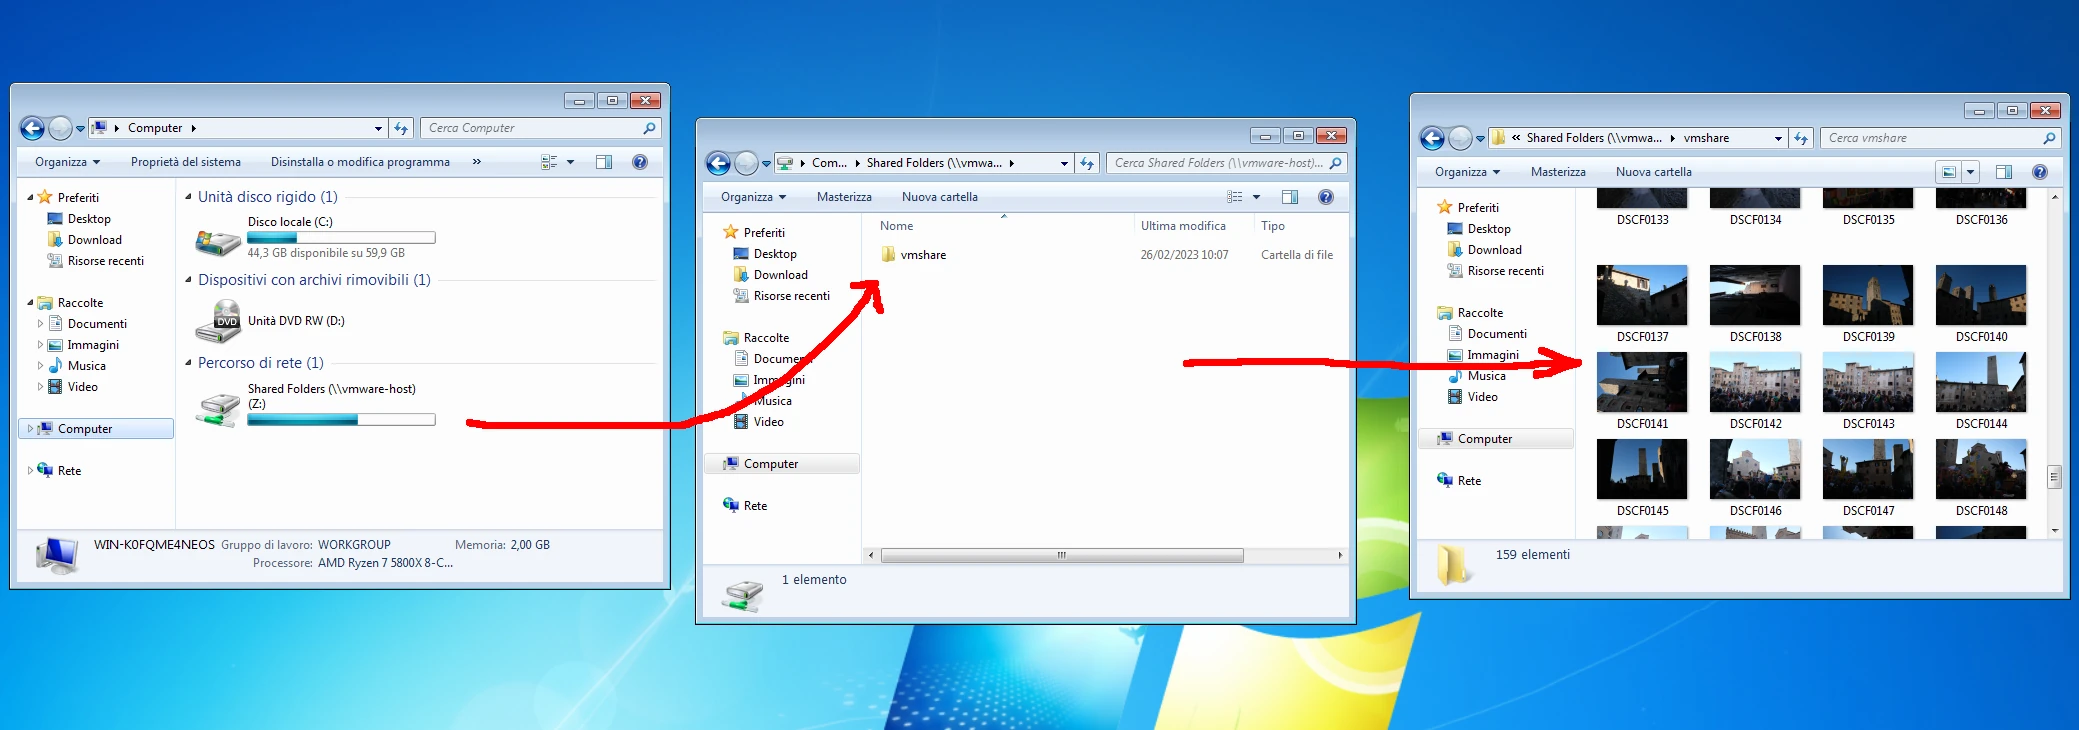
Simply select and copy Fujifilm saved files from Picture folder to wmshare folder to have its also on Linux.

Leave a Reply